Why Yoga Might Not Be Helping Your Pelvic Floor (And What to Do Instead)
You've heard that yoga is good for vaginismus. You've been going to class, showing up on your mat, and yet something isn't changing. Maybe things even feel worse. If that's your experience, I want you to know: you're not crazy. The cues you might be receiving in class could be working against you and your pelvic floor.
In many Western yoga classes, certain common instructions — "tuck your tailbone," "squeeze your glutes," "pull your belly button to your spine," "sink deeper into your lunge" — are taught as universal truths. They're not. For people healing from vaginismus and other pelvic floor conditions, some of these cues can work directly against the very changes you're trying to create.
Additionally, many recommendations for yoga for vaginismus and the pelvic floor focus on hip opening poses or stretches to increase flexibility. Those might provide some benefit, but if we have a pelvic floor that, in the case of vaginismus, is likely tight and weak, we might actually need to move toward a place of both relaxation and strength.
This post is here to reframe the conversation. Because yoga can be incredibly supportive for pelvic health when we approach it with the right kind of awareness.
Your Pelvic Floor Doesn't Live in Isolation
Before we get into the poses, a little context.
Your pelvic floor doesn't function as a standalone structure. It's part of a larger web of tissue, muscle, and fascia that includes your hips, inner thighs, glutes, and quite importantly, your diaphragm.
Research confirms that the gluteus maximus — your largest glute muscle — is directly connected to pelvic floor tissues via fascial strands and connective tissue, and can directly influence how the pelvic floor functions (Scientific Reports, 2023). Anatomically, your inner thigh muscles share an origin at the pubic bone — the front anchor point of the pelvic floor — which means their coordination and strength are part of the larger structural support system for the pelvis.
And then there's your breath.
Your diaphragm — the dome-shaped muscle that sits just below your ribcage — and your pelvic floor are in constant conversation. Research shows that in healthy function, the two move together with every single breath: as you inhale, the diaphragm descends and the pelvic floor gently lengthens and yields; as you exhale, both rise back up (ScienceDirect, 2024). When breathing patterns are disrupted — say, by an arm cue that causes the ribcage to flare open and restrict breath flow — this coordination breaks down, and the pelvic floor can't do its job as effectively.
What this means for you: the strength and coordination of your outer hips, inner thighs, and diaphragm all directly affect what happens in your pelvic floor. And in vaginismus, where the pelvic floor is already working overtime in a protective pattern, the goal isn't just to release and relax — it's to build a stable, spacious container.
Why Strength Matters for Healing Vaginismus
Here's something that might feel counterintuitive: many people with vaginismus have been told to RELAX. And yes, learning to release pelvic floor tension is part of healing. But a pelvic floor that has no support — that exists within a weak, unstable surrounding structure — often has a harder time truly letting go because it feels like it can't afford to.
When the muscles around the pelvis are strong and well-coordinated, the pelvic floor doesn't have to work so hard on its own. It has backup. And a supported pelvic floor can relax more deeply, more sustainably, than one that's holding everything together alone.
In yoga philosophy, we talk about sthira and sukha — two qualities that Patanjali, the ancient compiler of the Yoga Sutras, says every posture should embody. Sthira means steadiness or stability. Sukha means ease, comfort, or spaciousness. (The root sukha literally refers to a well-fitted axle hole — something that moves smoothly, without friction…which is spot on for what we’re dealing with!)
Most Western fitness culture, and even many yoga classes, are heavily weighted toward pushing harder, going deeper, feeling the burn, and holding longer. But for a nervous system that's already in a heightened state of protection — which is what's happening in vaginismus — more effort, more gripping, more compression is not the answer.
What we're practicing in these lower body poses is the integration of sthira and sukha: enough stability (sthira) to feel grounded and supported, and enough ease (sukha) that the pelvic floor has room to breathe. Strength without bracing. Effort without clenching. Space within the structure.
The Pelvic Diamond: Creating Space Instead of Compression
Next I want to introduce you to a concept I learned from one of my teachers to help visualize what you’re supporting in a yoga practice for vaginismus— the pelvic diamond.
Imagine a diamond shape at the base of your pelvis, with four points: your pubic bone at the front, your sacrum at the back, and your two sit bones (ischial tuberosities) on either side. This diamond is the floor of your pelvis. When it's spacious, your pelvic floor can function freely — contracting and releasing as needed. When it's compressed, everything tightens.
Many common yoga cues collapse this diamond without us realizing it. Tucking the tailbone brings the sacrum forward and narrows the back of the diamond. Squeezing the glutes compresses the sit bones. Sucking the belly button to the spine creates downward pressure on the floor of the pelvis. Over time, in a body already holding a lot of pelvic tension, these cues can reinforce the very patterns we're trying to shift.
The goal in poses like Chair, Warrior I and II, and Crescent Lunge isn't to grip, tuck, or compress. It's to lengthen, lift, and create space in the pelvic diamond — while building real strength in the muscles that support it.
Rethinking Yoga Poses to Support Vaginismus
Let's look at how this plays out in specific postures. For a full tutorial walking you through these in real time, watch this video.
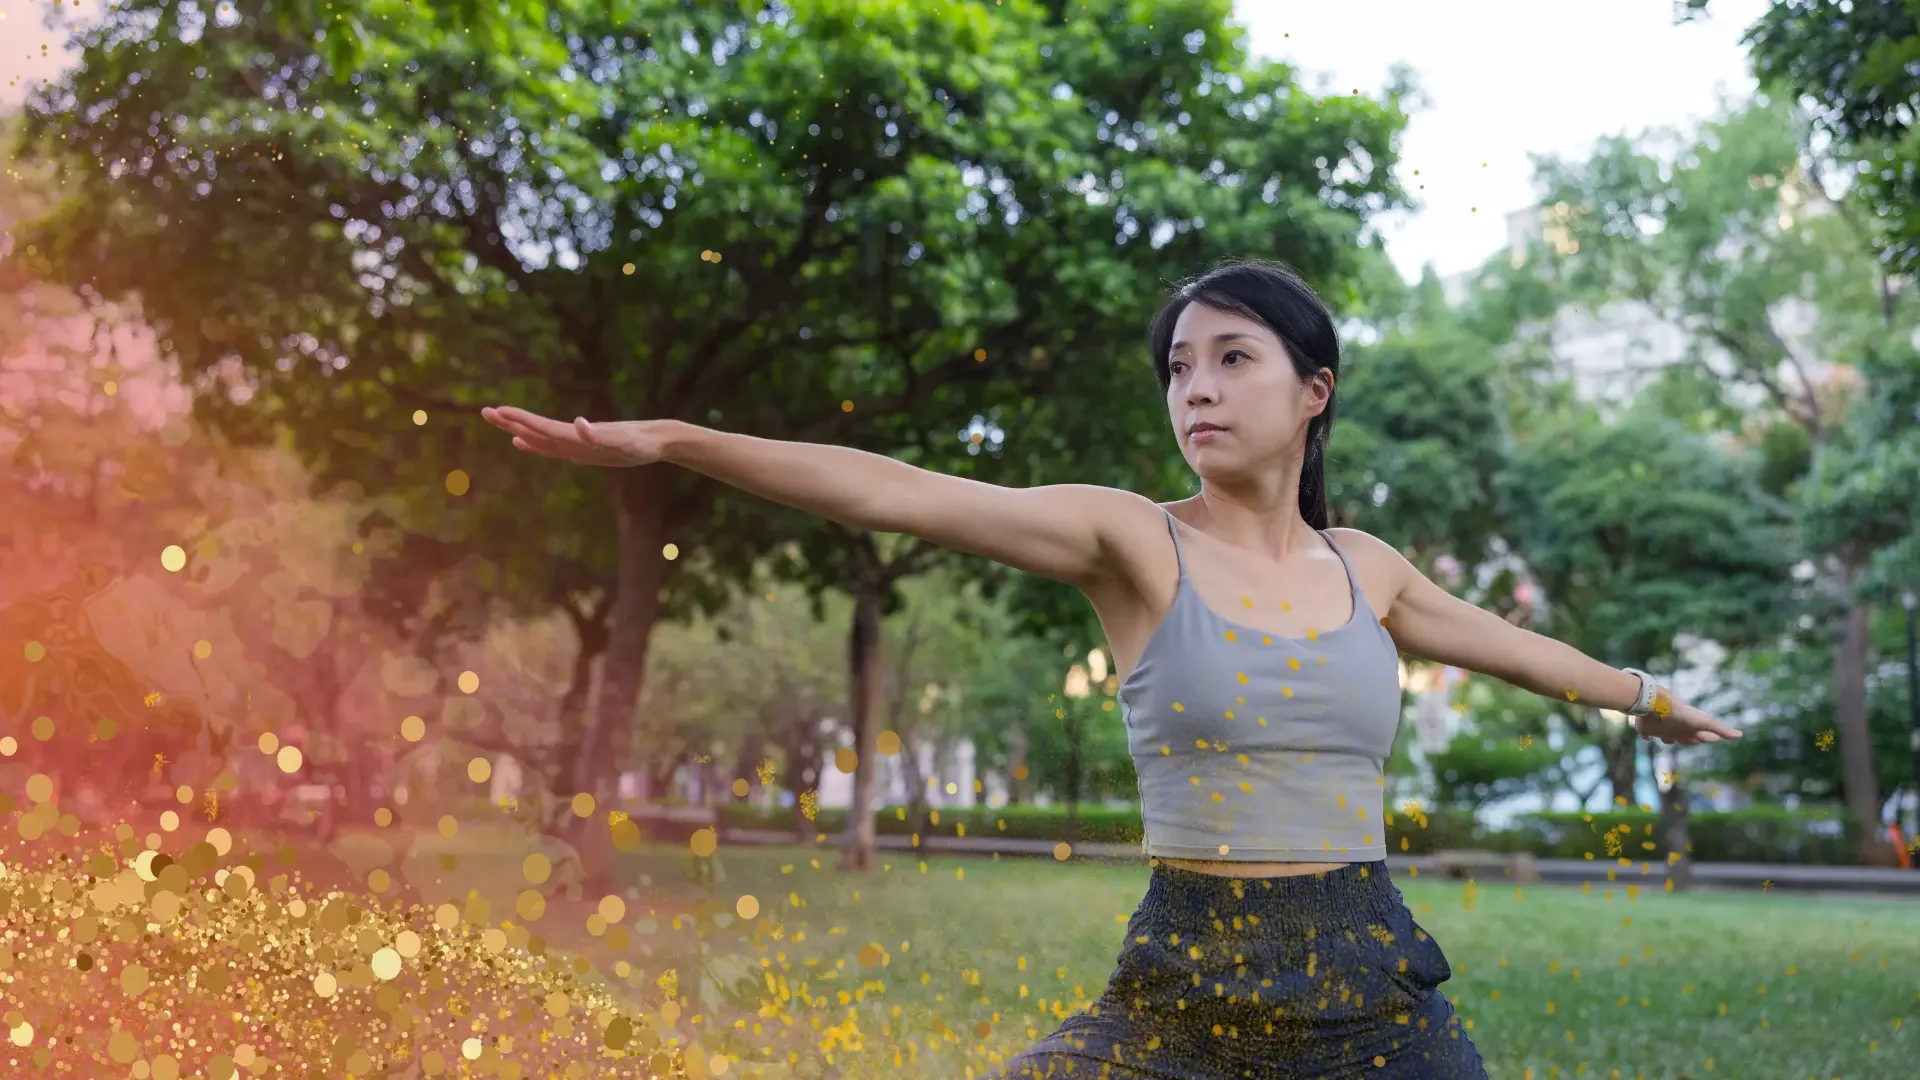
Chair Pose (Utkatasana)
Chair pose is often cued with a tailbone tuck, belly button pull, and arms by your ears — all of which, as we discussed, can compress the pelvic diamond, reduce space in the pelvic floor, and restrict the movement of breath.
Instead, try this:
Root through all four corners of your feet and feel a gentle lift through your arches. It might feel better to widen your stance rather than keeping your feet together.
Think about your sit bones moving apart from each other — widening, not squeezing together. Contrastly, gently draw the front points of your hips together.
Engage the outer edges of your hips (your outer glutes) with an isometric inward rotation — that means you're not actually turning your thighs inward, but you're engaging your muscles as if that were the case. Simultaneously press your knees apart against an imaginary resistance, or place a block between your thighs and gently hug it.
Draw the back of your heart back and up. This will align your spine without forcing your tailbone tuck. Your lumbar spine will have a gentle curve; that's healthy.
Notice if your arm height is impacting your breath. You can either keep your shoulders down and lower your arms, or keep your biceps by your ears with shoulders lifting at a height that maintains your ability to breathe into your low back and feel your pelvic floor soften with each exhale. You can also keep your hands in prayer at heart center.
The goal here is to ensure your legs are doing the work, not your pelvic floor or lower back.
Warrior I (Virabhadrasana I)
In Warrior I, the "go deeper" cue often leads people to prioritize the external depth of the posture over stability — overextending the front knee past the ankle and dropping the pelvis too low, which actually reduces stability and increases compression. The deeper you sink without the strength to support it, the more the pelvic floor has to compensate.
Instead, try this:
Keep a height in your lunge that feels strong and supported — your knee should track over your second toe, not collapse inward.
Press the outer edge of your back foot firmly into the mat, which naturally activates the outer hip of the back leg.
Simultaneously, isometrically lift through your inner groins — imagine drawing energy up from the inner ankle of your front foot all the way through the inner thigh, while pulling your feet toward one another.
Think about lengthening your tailbone toward the floor, rather than tucking it.
Arms are often cued to be overhead with shoulders down but biceps by the ears. This might not be achievable without causing your ribs to flare, which restricts breath flow. You have two options: keep your shoulders down but lower your arms to a height that doesn't cause the rib pop; or keep your arms overhead but allow the shoulders to rise as needed in order to maintain your rib basket and breath flow.
Warrior II (Virabhadrasana II)
The most common misalignment I see in Warrior II is the front knee collapsing inward — often because the inner thigh isn't doing its job. This not only strains the knee but also closes off space in the pelvic bowl. Additionally, spreading the arms wide and drawing the shoulder blades together can restrict the breath flow we're looking for.
Instead, try this:
Actively press your front knee out toward your pinky toe, tracking it over your second or third toe.
Feel the outer glute of the front leg engage — not a grip, but a gentle, steady activation that keeps the hip stable.
The inner thigh of your front leg should feel like it's hugging toward the midline without collapsing there (isometric engagement).
Let the tailbone drop naturally — no tuck, no gripping through the seat.
Notice how your arm placement impacts your rib basket. If stretching your arms too wide makes the front of your ribcage "pop" open, draw your arms slightly in front of you while drawing the back of the ribcage up. This should allow more breath to flow down into your lower back and pelvic floor.
Crescent Lunge / Low Lunge (Anjaneyasana)
Low lunge often gets the "go as deep as you can / aim for 90 degrees" instruction, which sends a lot of people into unstable, compressive territory. A shallower lunge done with intention gives you far more stability:
Step your back foot in a few inches as your rise into your lunge. Stability first. You can always step it back over time as you get accustomed to engaging in this way.
No matter the variation (back knee down or lifted), isometrically engage your outer glutes and your inner thighs.
In a low lunge (back knee down), maintain that engagement and only sink your hips as low as you can while sustaining it.
In a high lunge (back knee lifted), press firmly through the ball of your back foot and feel the back inner thigh draw upward. This activates the whole back leg and creates support from below.
In both versions: think about your sit bones spreading apart, your tailbone long, gently drawing your front hip bones toward one another, maintaining space across the base of your pelvis.
Just as in Warrior I, notice if your arm height is impacting your rib basket and either lower your arms or allow your shoulders to rise.
How to Practice These Yoga Postures for Vaginismus
If you're ready to start practicing these principles in movement, this video tutorial walks you through Chair pose, Warrior I, Warrior II, and Crescent Lunge with this exact approach — cuing for outer glute engagement, inner thigh activation, and pelvic spaciousness rather than compression.
You can also explore my On-Demand Yoga Classes for full-length practices that integrate pelvic health principles throughout.
And if you're working with dilation as part of your healing, Dilating 101 pairs beautifully with this kind of strengthening work — because when your body feels more stable and supported, the dilating process often becomes more accessible too.
A Note on Finding Your Version
Nothing in this post is meant to be prescriptive. Your body is unique, your healing path is your own, and what creates space and ease will look a little different for everyone. Some of these cues will land immediately; others may take time to feel. That's normal.
What I hope you take away is this: yoga supports pelvic health most when it's practiced with awareness, not just effort. When you learn to create space in the pelvic diamond, engage the muscles that actually support it, and stop bracing where you don't need to — you're building something that goes well beyond any single pose, and that's the practice. Sthira and sukha. Strength and ease together.